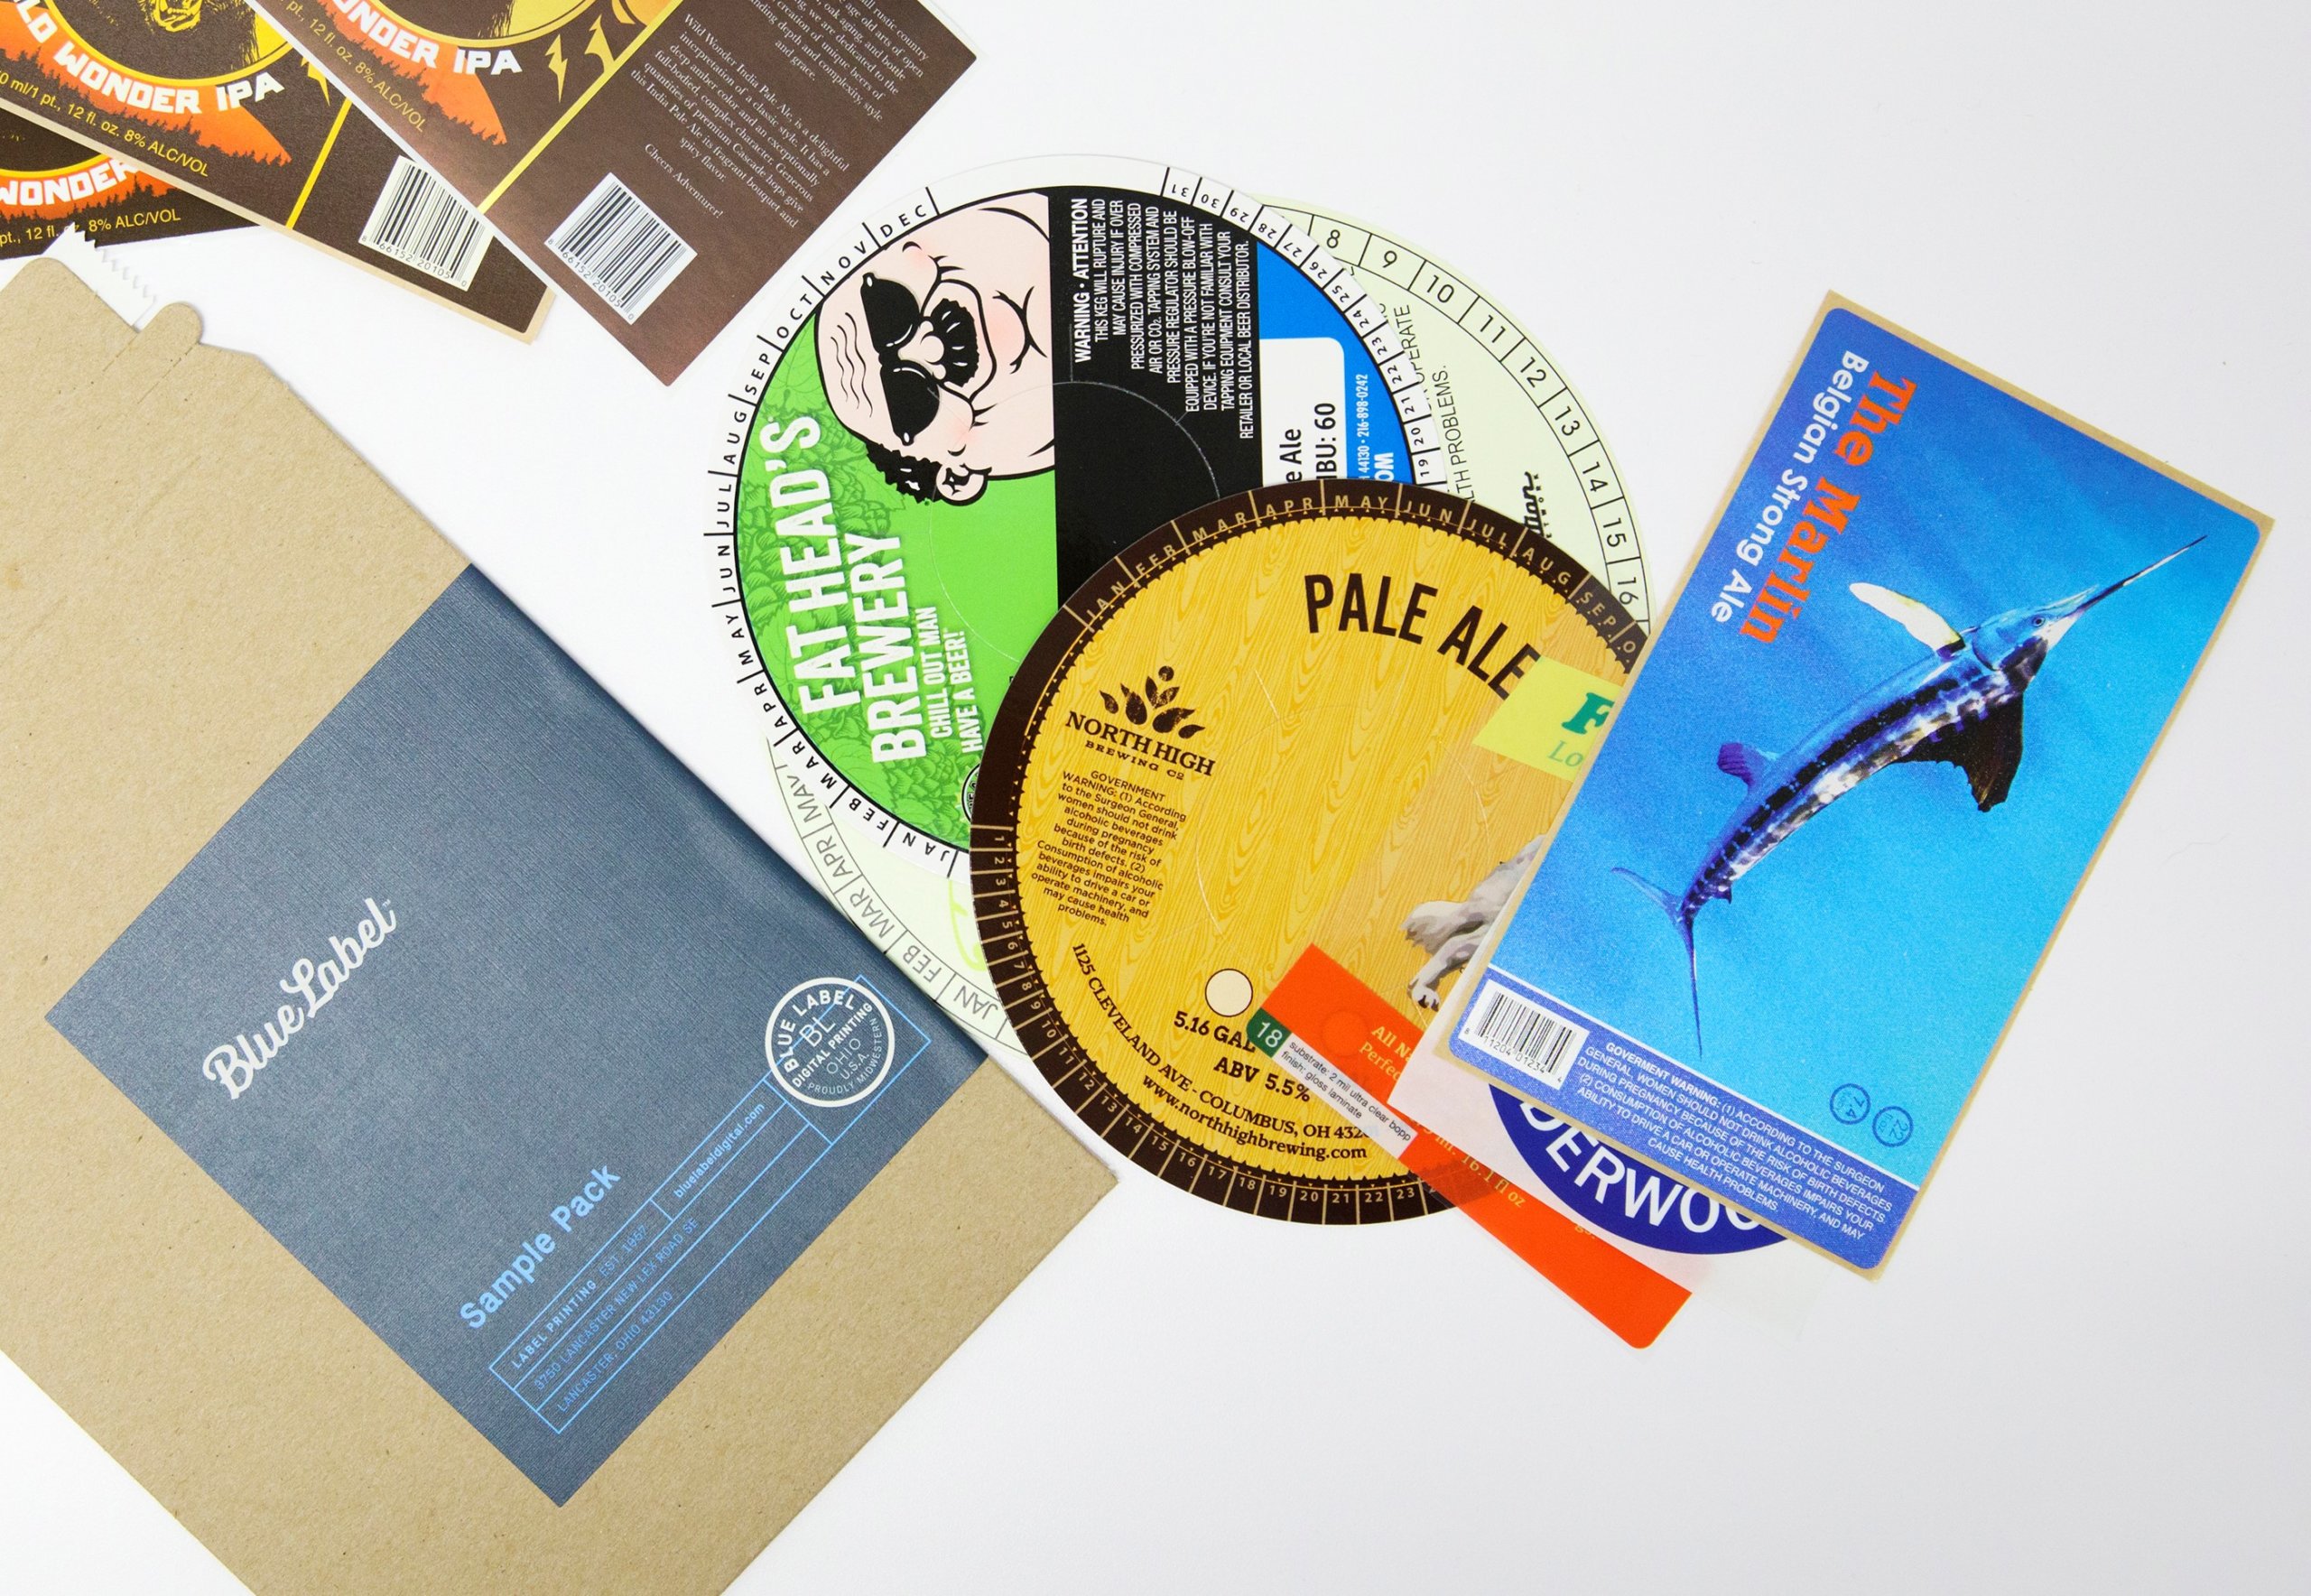
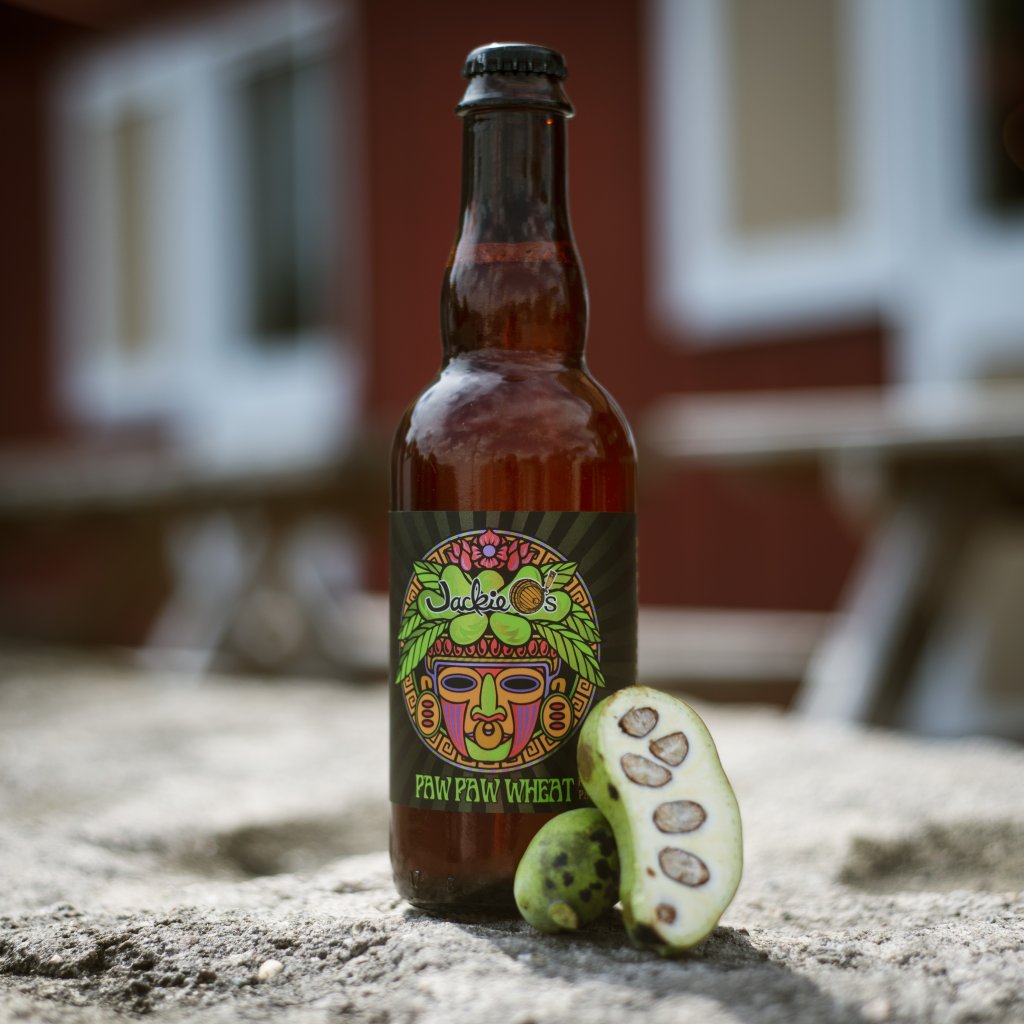
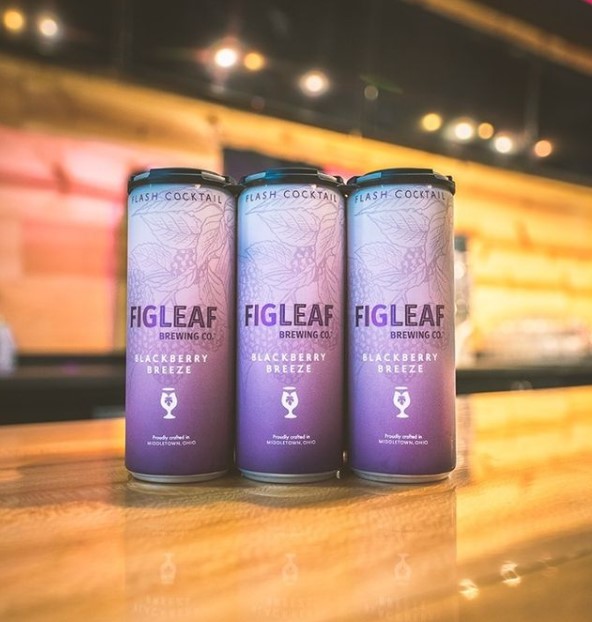
There is a lot more to hard cider labels than your brand and an eye-catching design. Hard cider labeling regulations are not only complicated, but can also vary depending on the strength of your product. Let’s break down the different hard cider label requirements you need to know for your drinks.
Who Regulates Hard Cider Labeling?
It’s essential to follow regulations when labeling hard cider. The tricky part is that it’s not always clear which rules you need to follow.
While you might put hard cider on draught, it isn’t classified as a type of beer. Hard cider is traditionally defined by the TTB as “wine fermented from apples, including apple juice or apple concentrate.” However, the TTB broadened the criteria for hard cider in 2017. These changes expanded the definition to meet the following requirements.
- Hard cider should be less than (not equal to) 8.5 percent alcohol by volume (abv), up from 7 percent.
- Hard cider should have a maximum allowable carbonation level of 0.64 grams of carbon dioxide per hundred milliliters of wine, up from 0.392.
- Hard cider is now allowed to use pears and pear juice concentrate and still receive the hard cider tax rate.
Of course, these changes also impact which governing body oversees different hard ciders. Ciders with an abv under 7 percent are regulated by the Food and Drug Administration (FDA). The remaining hard ciders at or above 7 percent are in turn regulated by the TTB.

Hard Cider Label Regulations: What You Need to Include
As you may expect, both the FDA and TTB require a lot of information on their labels. While there are many overlapping regulations, there are some notable differences between hard cider label requirements from the FDA and TTB. The following elements are mandatory pieces of information that are required by the FDA, the TTB, or both organizations.
- Brand name
- Name and address of the bottler
- Class, type or other designation
- Net contents
- Alcohol content
- Ingredient, nutrition, and allergen listings
- Government Health Warning
- Various declarations
These elements also have specific requirements for how they’re presented as well. Aside from the alcohol content statement and government health warning, all mandatory information uses the following guidelines for minimum type size.
- If the container size is 187 milliliters or less, type must be at least 1 millimeter.
- If the container size is more than 187 milliliters, type must be at least 2 millimeters.
Brand name (FDA and TTB)
The brand name is defined as the name under which you sell your hard ciders. This element is typically the most notable detail on your label, although you may highlight other aspects of your design. If you don’t have a brand name for your products, you should display the name of the bottler or importer in its place.
Name and address of the bottler (FDA and TTB)
The exact rules for this element differ slightly. Both the FDA and TTB require an address including city and state, but has different rules for the bottler.
- FDA – Labels must include the name and address of the premises where the cider was bottled or packed.
- TTB – Labels must include the name and address the bottler or importer as listed on the TTB permit. This name must also be preceded by the words “Bottled/Packed by” or “Imported by,” or some qualifying optional statement.
Class, type, or other designation (TTB only)
Any hard cider that is at least 7 percent abv must include a statement of identity. By definition, hard ciders are considered “fruit wine,” but you can simply label your type as “cider” or “hard cider” if your product meets the following criteria.
- Produced by the normal alcoholic fermentation of the juice of sound, ripe apples.
- Derived wholly (except sugar, water, or added alcohol) from apples.
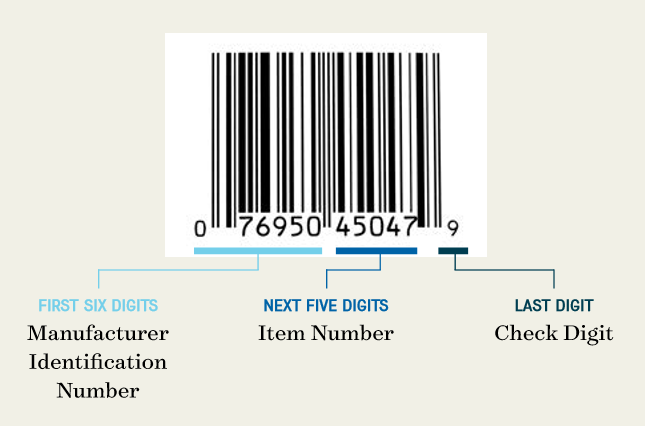
Net contents (FDA and TTB)
Simply put, hard cider labels must display how much product is in a container. The FDA allows this statement to be listed on any product label. You can also opt to etch or blow the net contents into the container itself.
The TTB is a little more particular about the exact presentation of net contents. As with FDA labeling regulations, net contents can be etched, blown, or displayed on a label. The key difference is that hard ciders of at least 7 percent abv must use the authorized metric standards of fill as listed in the Electronic Code of Federal Regulations (27 CFR 4.72). You also can choose to use any of the following abbreviations:
- Milliliters – ml, ML, mL
- Liters – L
Alcohol content (FDA and TTB)
The FDA and TTB both require specific statements for total alcohol content and acceptable tolerances. For the FDA, hard cider should state alcohol content as percent by volume and must be within 0.75 percent of what is listed on the label. Meanwhile, the TTB allows for a tolerance of 1.5 percent and mandates that you use one of the following statements to present alcohol content.
- Alcohol __% by volume
- Alcohol __% to __% by volume (see part 4 for rules)
- May use “Alc.” and “Vol.” or “Alc” and “Vol”
- May replace “by” with “/”
- May NOT use “ABV”
Alcohol content is also one of the elements that follow different type size requirements than the majority of details. The exact rules for type size depend on the size of your container. If the container size is 5 liters or less, you must use a type of 1 millimeter at minimum and 3 millimeters maximum.
Ingredient, nutrition, and allergen listings (FDA)
As an FDA-regulated product, any hard ciders of less than 7 percent abv must include an ingredients list, nutritional facts, and any possible allergens. The FDA’s Food Labeling Guide offers guidelines for the following mandatory elements.
- Ingredients – Every ingredient included in your hard cider in descending order of predominance.
- Nutritional facts – A detailed breakdown about your hard cider’s nutrient content that follows the formatting requirements (21 CFR 101.9(d)).
- Allergens – Call outs if your hard cider includes any of the major food allergens.
Government health warning (FDA and TTB)
As long as your hard cider contains at least 0.5 percent abv, your label must include a warning. This warning is the same for both the FDA and TTB and must read as follows.
- GOVERNMENT WARNING: (1) According to the Surgeon General, women should not drink alcoholic beverages during pregnancy because of the risk of birth defects. (2) Consumption of alcoholic beverages impairs your ability to drive a car or operate machinery, and may cause health problems.
This warning can appear on any label as long it remains separate and apart from all other information. The warning should also follow the following type guidelines.
- Minimum 3 mm for containers larger than 3 liters (101 fl. oz.)
- No more than 12 characters per inch
- Minimum 2 mm for containers larger than 237 ml (8 fl. oz.) to 3 liters (101 fl. oz.)
- No more than 25 characters per inch
- Minimum 1 mm for containers of 237 ml (8 fl. oz.) or less
- No more than 40 characters per inch
Specific ingredient declarations (TTB only)
Any wines, hard ciders included, regulated by the TTB must call out certain ingredients if they’re present in the product. As such, you’ll need to disclose that your hard cider contains any or all of the following ingredients if they apply.
- FD&C Yellow No. 5
- Cochineal extract or carmine
- Sulfites (if your cider contains 10 ppm or more sulfur dioxide)
Which Hard Ciders Require a COLA?
The label approval process is another confusing aspect of hard cider label requirements. The FDA does not require pre-approval. Meanwhile, the TTB requires beers, wines, and spirits to apply for and receive a Certificate of Label Approval (COLA) before those products ever hit the market. As such, any hard ciders regulated by the TTB must acquire a COLA before they are packaged and shipped across state lines.
The good news is that it’s fairly simple to apply for a COLA. Breweries can use the COLAs Online Customer Page to register and submit an online application. As long as the TTB finds that you’ve followed all the rules, your label will be good to go.
There is one other alternative to needing a COLA. If you don’t plan to introduce your hard ciders into interstate or foreign commerce, you can apply for a certificate of exemption through TTB Form 5100.31. This exemption will show that your hard cider is exempt from the FAA Act. You will also need to add the following statement to your label.
- “For sale in (name of state where bottled) only”
Don’t Let Hard Cider Regulations Detract from Your Products
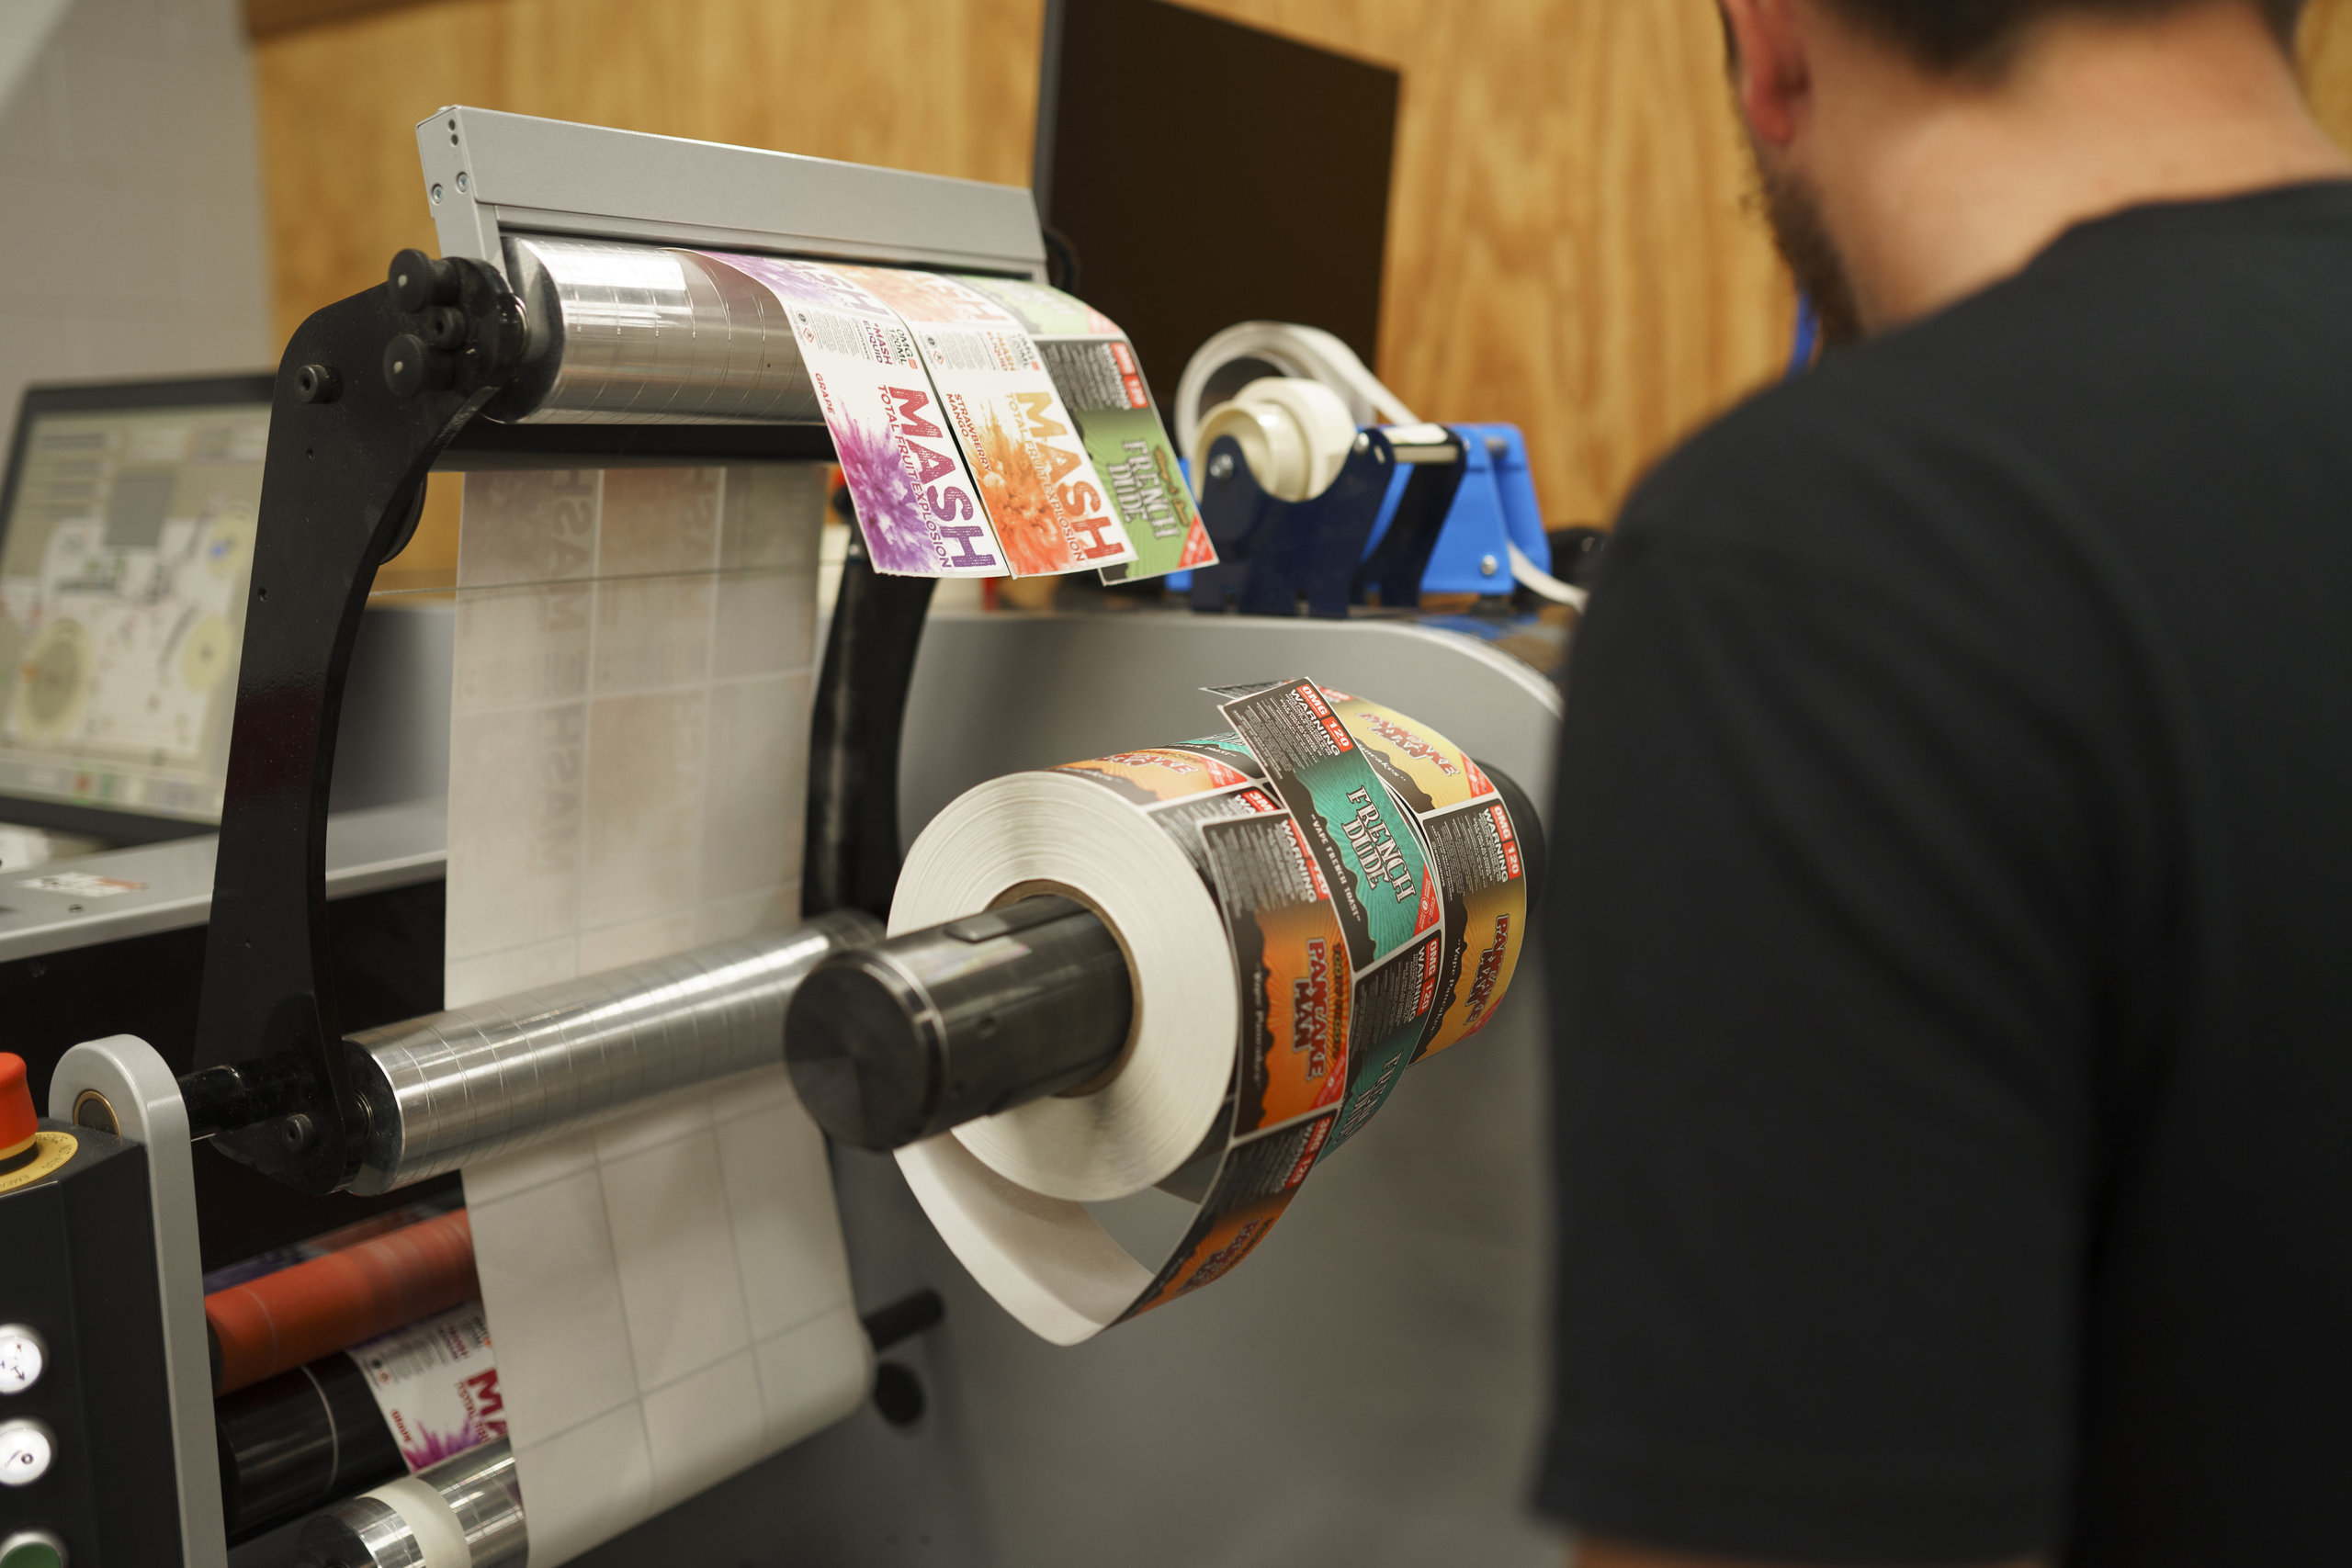
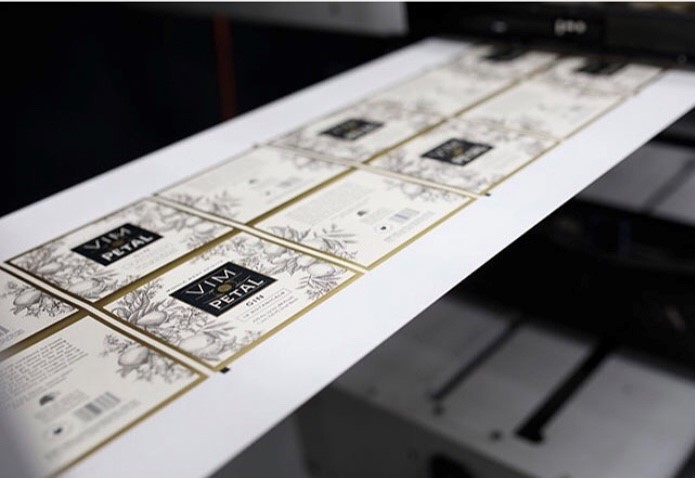
Let’s face it, TTB and FDA regulations aren’t the most exciting part of your label. The need for key information shouldn’t detract from the appeal of your hard ciders. That’s why Blue Label Packaging Co. works directly with you to print stunning hard cider labels that showcase the quality of your product.
Every label needs to make a great first impression. Our experts work with you to enhance your label design through special materials and eye-catching decorations. We also provide pivotal print protection to prevent premature failure. Contact us today to invest in hard cider labels that help you tell your brand’s story.