What Does It Take to Get Your Beer Bottle Labels Ready for Digital Printing?
- alcohol labels
- bottle labels
Step 1: Figure Out Exactly What You Plan to Do with Your Beer
The very first thing you need to do is decide on what your end goal is for your beer. Do you plan on distributing these bottles on a large scale? Is this line going to be a special edition beer? Is it only going to be available at one of your locations? Once you have a plan in place, you can start to consider what type of bottle you want to use.
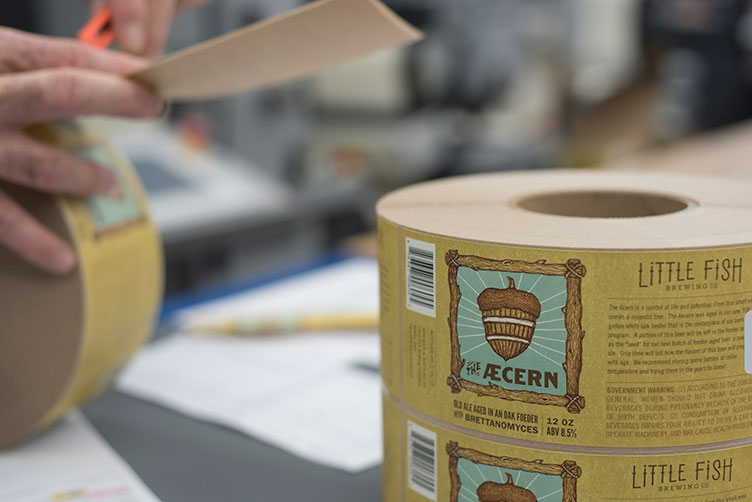
Unsurprisingly, the shape and size of your selected bottles is going to make an impact on the shape and size of your bottle labels. Whether you’re planning on sticking with the standard, cost-effective 12 oz. bottle or want to run with bombers or some custom shape, it’s important to keep that in mind when you move on to the next step.
Step 2: Get a Beer Label Designer
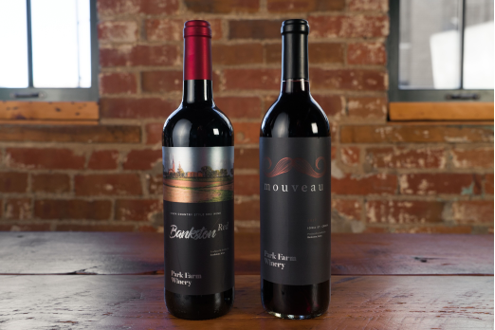
If you want a good beer bottle label, you’ll want to work with a talented and experienced designer. If you don’t have one on staff, you’ll want to find a good label designer who can create something that’s right for you, your beer, and your bottle of choice. Not only will this designer be able to, you know, design something, they’ll be able to work with your printer to make sure your packaging is made just right. An understanding of color profiles, sizing, printing margins and other intricacies of the printing process can be invaluable.
Step 3: Figure Out Details with Your Label Printer
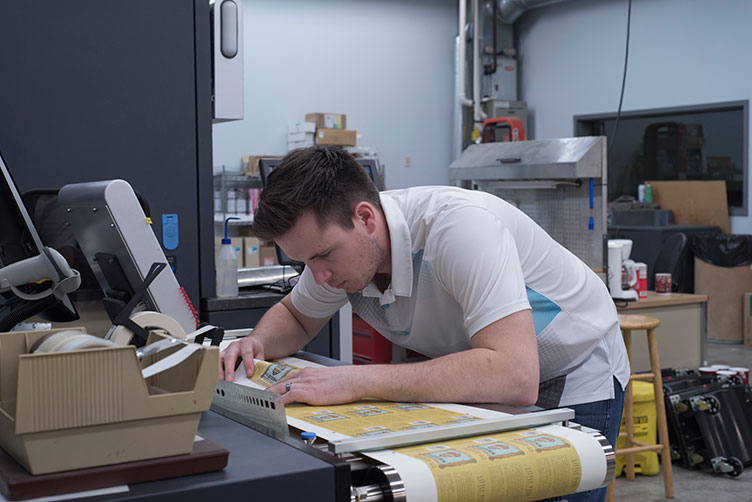
As a digital label printer, we can help you translate your design so that it not only looks good, but also works on an actual bottle. We do this by asking a few questions to find a solution that will make sense for your beer.
What conditions will this bottle be exposed to?
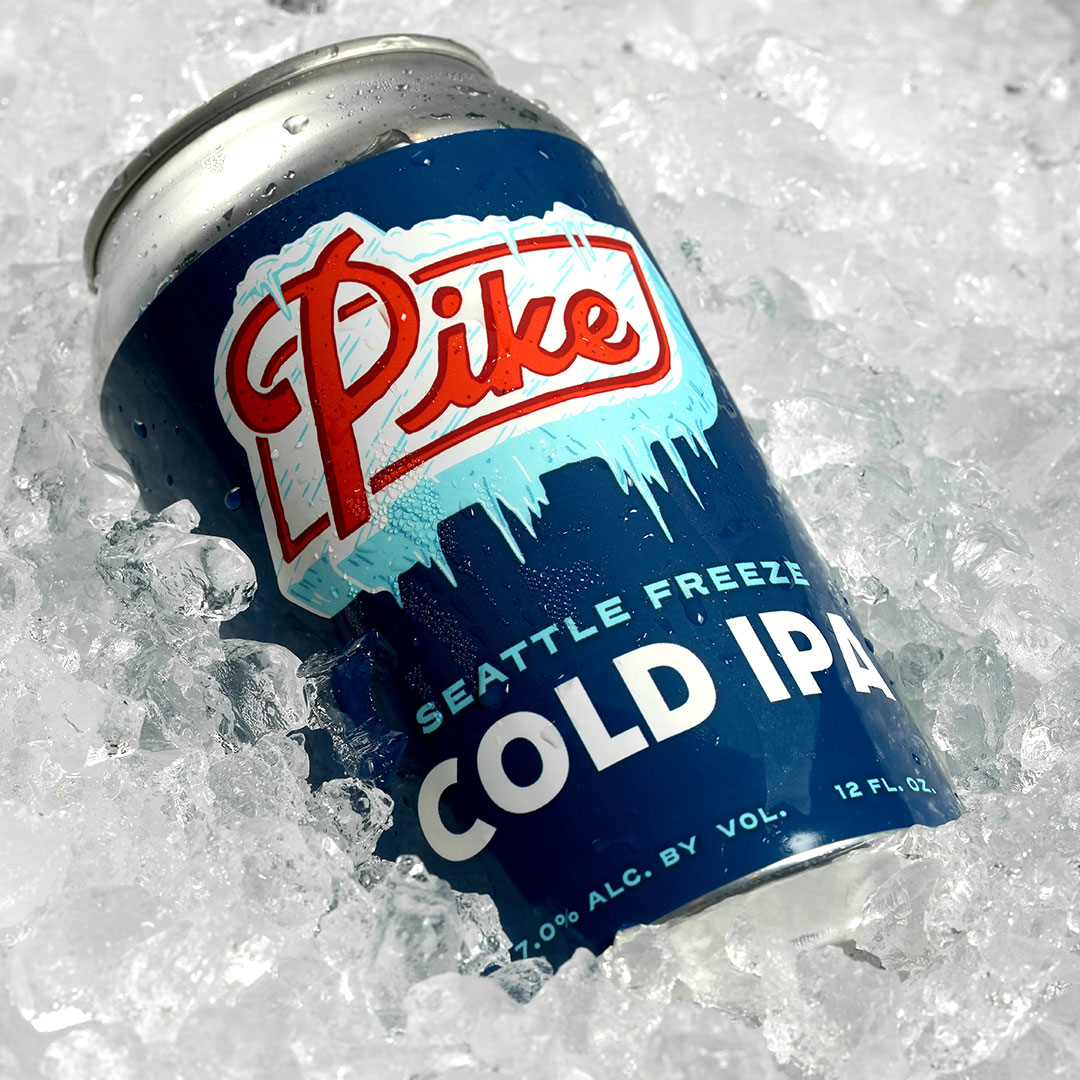
To choose a good material, we’ll need to know what your bottles will go through in the future. For example, if they’re going to be submerged in water or ice at some point, we can make sure to use a material and adhesive that can withstand those conditions.
What type of applicator do you use?
Your applicator can also make a difference in which label material you should use. Certain materials don’t mesh well with certain applicators and can lead to unnecessary damage or waste. For instance, you may want to add a quality plastic liner to your labels if you have a high-speed applicator so that it doesn’t constantly rip your rolls. Your applicator can also dictate the direction that labels are laid out for printing, which can in turn impact pricing. If you have any questions about your applicator, your manufacturer should be able to give you the info you need.
Are there parts of your design that could be an issue when printed?
Another key part of working with your printer is to make sure that your design can actually be printed. There are certain design considerations that can pose problems for just about any custom die, such as sharp corners or voids in the middle of a label. We can help your designer round out edges and make other adjustments that make them less likely to tear during the printing process.
Step 4: Get Your Design to Your Printer
Once you’ve worked out specific printing considerations, it’s time to send over your design. Your artwork should be in a print-ready PDF file with all the links embedded, types converted to outlines, any appropriate bleeds or clear spaces, and tape measurements of your labels. In terms of color matching, please share the Pantone color code so that we can better match your desired color. Physical samples of your preferred color are also great, if available.
After we get all that information, we can get to work and ship your labels to you in three-to-five days. Whether we need to create a custom die or have one available in-house, you can always come back to us to print more if people can’t get enough of your beer.
Now that you know how the initial printing process works, let us know when you’re ready for quality, custom beer bottle labels for your business. Contact us today if you have any questions or to get your project started.
